Part of being a good landlord in Maryland is keeping your property in good shape. 
What better way to do that than add a fresh coat of paint?
A good paint job is an affordable change that can have a major positive impact on the quality of tenants you attract.
After all, your tenants want to be able to see themselves living in your property before they commit to renting it, and an appealing wall color will help them do that.
If you’re an expert at Maryland property management but not quite an expert at painting, don’t worry – we’ve come up with some helpful tips to help you get the job done right. Check it out:
Top 5 Tips for Painting Your Income Property
1. Pick the Right Colors
Choosing the right paint color can be tough – you need to pick something that will appeal to everyone without looking too bland. First, let’s go over a few colors that you should NOT choose:
- Bright colors

- Pink
- Camouflage or other patterns
- Colors that resemble those of national flags
These colors don’t have mass appeal and could send a good prospective tenant looking for somewhere else to live.
Here are some ideas for colors that you should choose instead:
- Grey
- Beige
- Tan
- Off white
Basically, you need to pick a light shade of an attractive neutral color. Once you’re done painting the walls that color, choose a shade of white (nothing too bright) to paint the trim and voila – your new paint will help renters envision themselves living happily in your property!
2. Choose the Right Type of Paint
As a landlord who is well aware of what it takes to manage a property in Maryland, you already know about the wear and tear than renters can cause in your property. That sometimes includes scuff marks on your walls that force you to repaint.
What you may not know is that choosing the right sheen when you paint can make your walls much easier to clean when the tenant moves out.
Avoid choosing a flat/matte paint, and opt for a semi-gloss paint instead. That way, you can simply wipe off scuff marks instead of needing to paint over them.
3. Prepare before You Paint
Before you paint a room, you’ll want to mask walls, windows, floors, and trim to avoid getting the paint somewhere it isn’t supposed to be. Here are some tips to help you mask a room properly:
- When you paint trim, use 2-inch-wide blue painter’s tape to mask the wall. The tape should be placed directly at the edge of the trim so the paint doesn’t get on the wall.
- Use drop cloths to protect your carpet when you paint. (You can use masking tape to hold the drop cloths together and in place.)
- Mask window and door hardware by covering it with masking tape.
- If you need to paint around a light fixture, mask the fixture by covering it with a large garbage bag and taping the bag securely with masking tape.
Masking the room isn’t the only thing you’ll need to do before you start painting. Follow these tips to ensure your paint job goes smoothly:
- Remove the plates on your electrical outlets and switches so you can paint around those areas with ease.
- Remove curtains.
- Take out any nails in the wall.
- Fill any holes in the wall so they can be easily painted over.
- Clean the walls thoroughly with water and dishwashing liquid.
In some cases, like painting areas with mold or smoke residue, you’ll need make other preparations as well. Be sure to do your research if you’re dealing with a specific problem to make sure you can get the job done right.
4. Choose the Right Painting Tools
 Head to the paint section of any home improvement store, and you’ll notice a wide range of tools you can use to paint with.
It can be a bit overwhelming, but don’t worry – we’ll help you figure out exactly what you need.
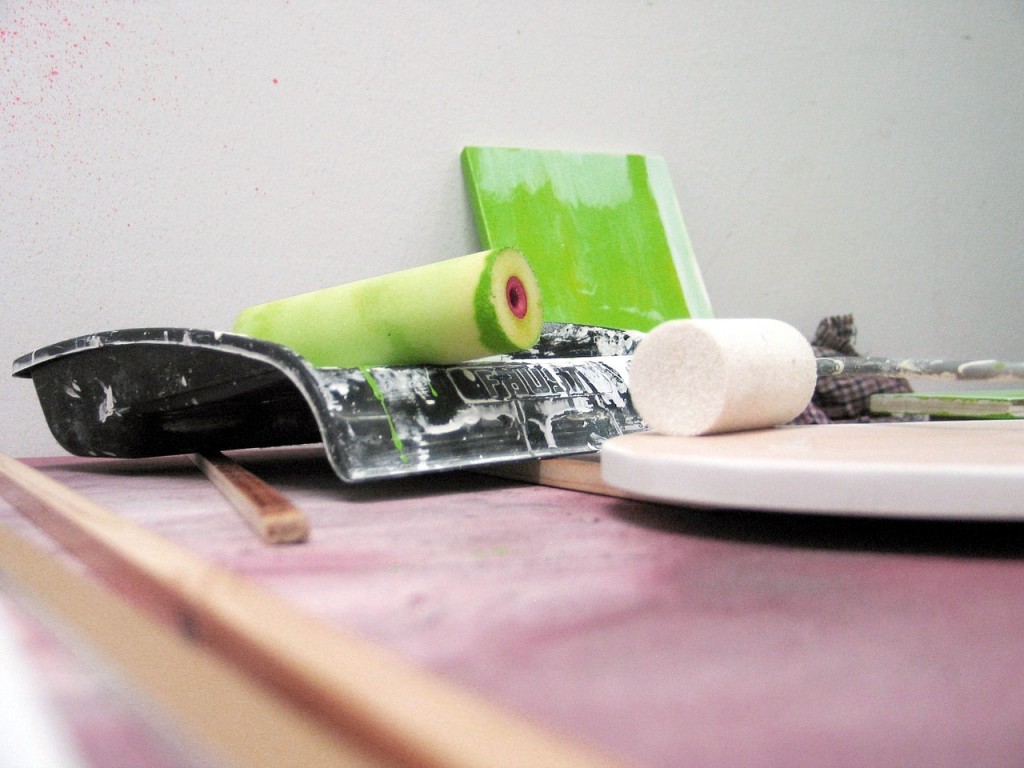
- Rollers – If you’re painting a large, flat area, you’ll want to use a roller. This tool can help you get a lot of painting done fast. If you choose to use a roller, you’ll need to purchase a tray to hold the paint as well.
- Brushes – If you’re painting trim or touching up tight areas, you’ll want to purchase an angled paint brush. Keep in mind that a smaller brush will allow for more detailed work.
- Sprayers – These are pricier than rollers and brushes, but they can help you get a big paint job done quickly (typically more quickly than a roller). Sprayers also tend to result in a more even finish and are less tiring to use than rollers.
Here are some other painting tools that you may want to consider:
- A painting stick – Attach this to your roller to extend its reach so you can paint hard-to-reach areas.
- A bench – Choose a sturdy, aluminum bench to stand on when you need to reach high places.
- Protective eyewear – You’ll want to protect your eyes, especially if you’re painting the ceiling (frequent drips are common when doing this).
Whatever you decide to use, make sure that all of the tools you choose are high-quality or your paint job may not turn out the way you want it to.
5. Follow the Right Process when You Paint
Finally – you’ve made all the preparations and it’s time to paint! Grab your tools and get started. Here’s the process you should follow.
- If your paint doesn’t include primer, you’ll need to prime the walls first. Do this with a roller.
- Before you paint the walls, paint the trim. Be sure you’ve masked the room properly first!
- Once the paint on the trim has dried and the trim has been taped off, you’re ready to paint the walls. Start by painting the edges with an angled paint brush. When you’re done with that, use a roller to coat the wall with paint using a continuous “W’ or “M” motion.
- Consider using a second coat of paint for best results.
Don’t forget to clean up your painting tools when you’re done. That way, you can use them again next time you need to paint.
If you have any questions about painting your property or would like help finding a reputable contractor to paint for you, feel free to contact our professional Maryland property management team – we’d love to help make your job as a landlord easier however we can!

